Unveil the secrets of professional embroidery through this comprehensive guide on mastering logo digitization. Be it a naive or advanced skill, understanding how complex logos are transformed for embroidery can turn your ideas into breathtaking textile art. Learn from expert tips and techniques on making your creations stand out in impeccable quality.
Introduction:
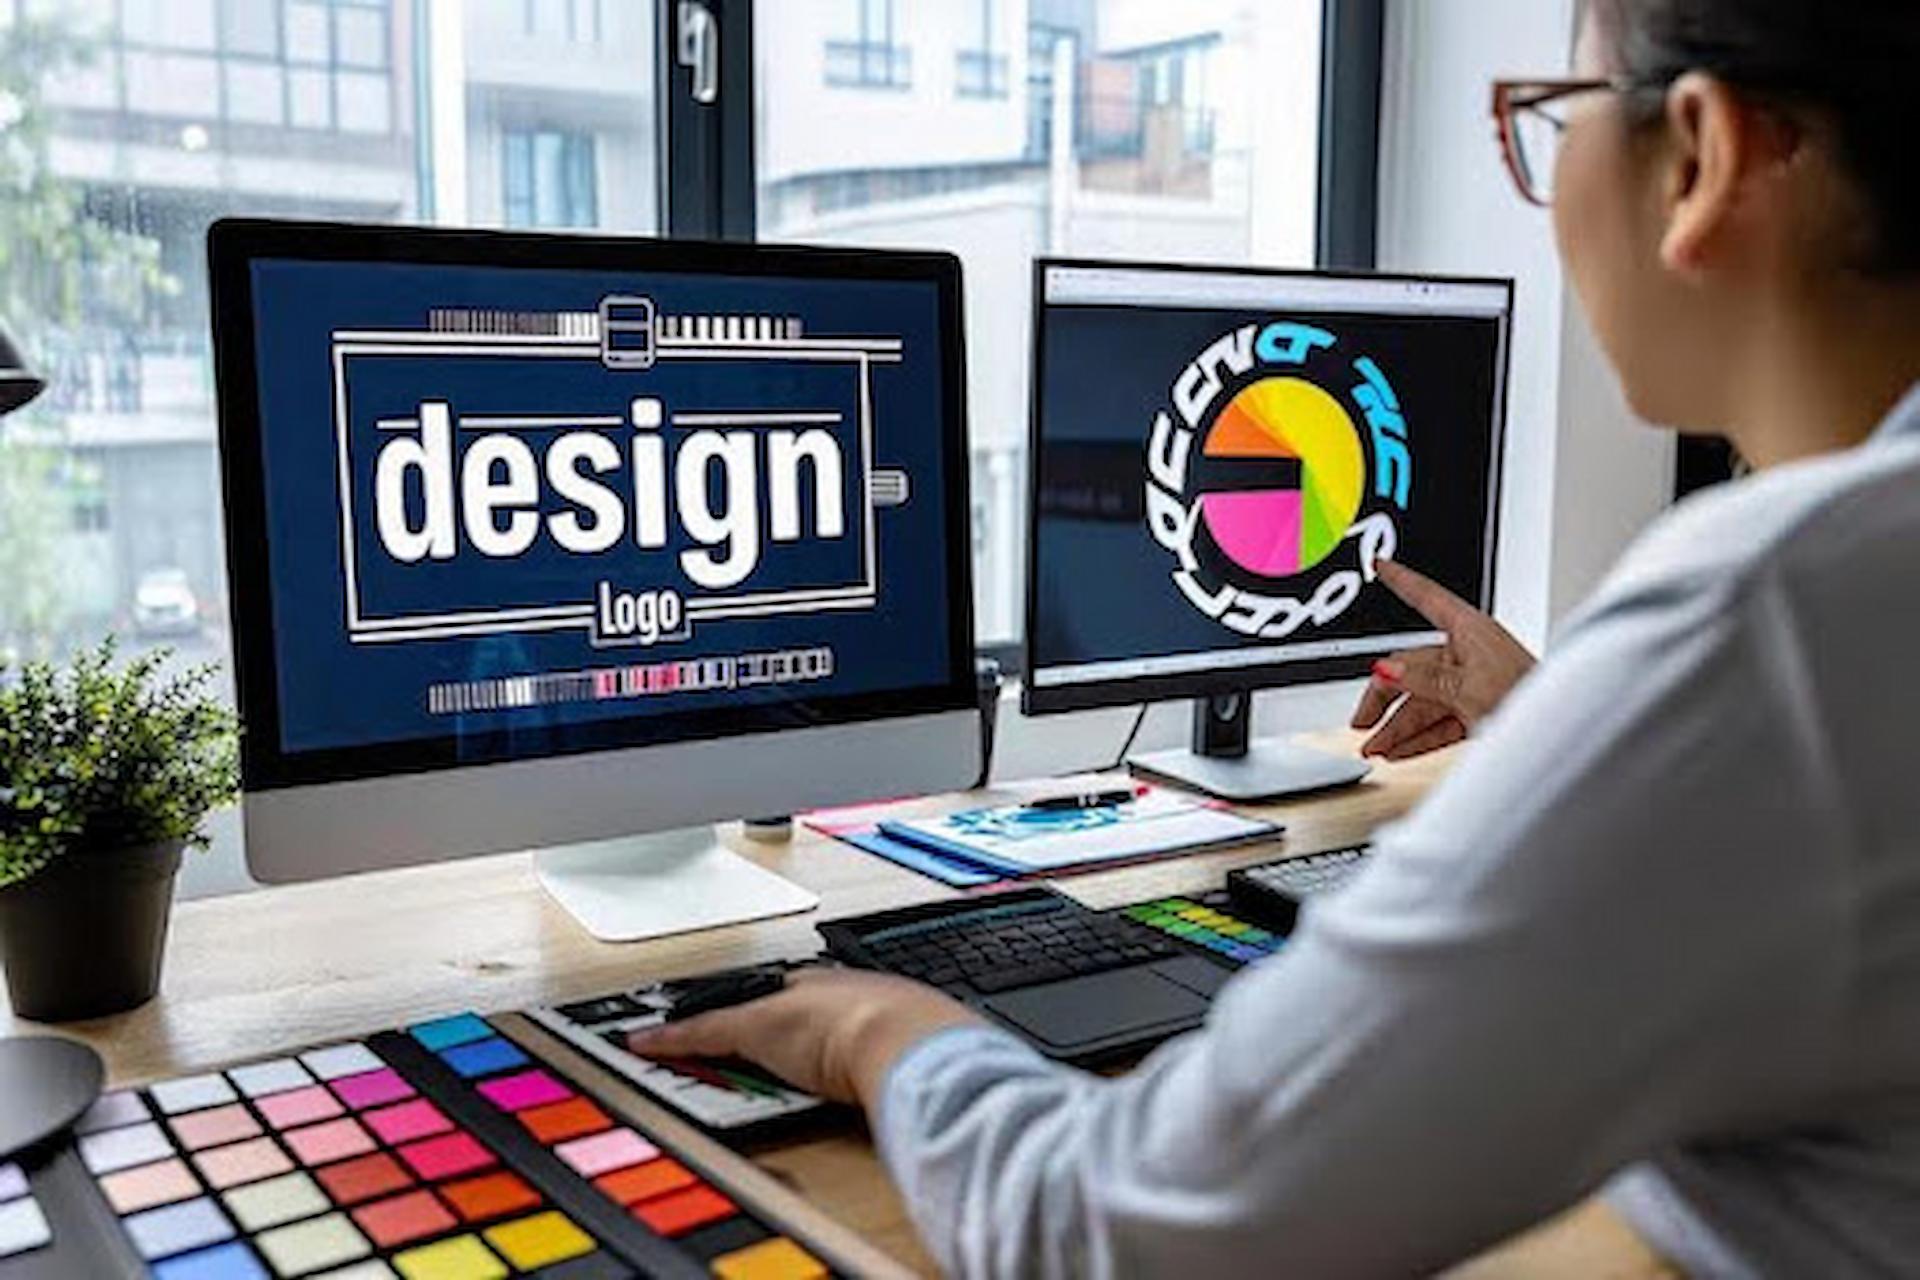
Digitizing the logo is the most crucial step in embroidery, as it finalizes the result one gets from the design. A logo to be digitized involves converting a digital image into a format understandable by the embroidery machines that then execute the stitch. This process demands technical skills and a keen eye for detail so that the final embroidered logo reflects the same integrity and style of the original design.
One of the popular styles in logo digitization is 3D puff embroidery digitizing. This makes your embroidery three-dimensional and raised and gives logos that really pop with a dimensionality that flat stitches just can’t match. Mastering this style will help take your embroidery projects to the next level, giving them a professional finish and real catchiness to your clients and customers.
Knowing the Basics of Logo Digitization
The first step in digitizing a logo for embroidery is to understand how it works. Digitization translates a graphic image into a series of stitches a machine designed to follow. Any poor execution in the process may significantly affect the quality of the final product. First, you will obtain high-resolution images of your logo since these serve as the basis for digitization.
Next, choose the appropriate digitization software. Several systems are available for different skill levels and applications. Wilcom, Hatch, and Brother’s PE-Design are the best-known of these packages. Any of these will allow you to edit your logo by setting stitch types and adjusting densities and angles to achieve the desired effect. Mastering these functions will go a long way toward improving your embroidery quality.
How to Accurately Digitize
Choice of Fabric and Thread: The type of fabric and the thread used is very important for digitization. Different fabrics react differently during stitching, and the type of thread determines the logo’s look. The materials should be selected carefully to complement the design to be durable and visually appealing.
Use proper types of stitches: Various parts of a logo require different types of stitches. Satin stitch works better on areas that are small and require details, while fill stitches work better on larger areas. Learning how to apply stitches will help make the logo visible and accurate.
Optimize for Embroidery: Simplify any complex elements in your design to make it more suitable for embroidery. Too much detail may lead to a messy look once stitching is done. Sometimes, simplifying intricate designs and correcting size may be required to achieve integrity post-digitization.
Adjust Stitch Density: Stitch density is about coverage and the appearance of the stitch. Few stitches may be too little for a design and may not give enough detail, while too many stitches can bunch up on the fabric. A balance needs to be found for an appropriate clean and professional look.
Incorporate 3D Puff Embroidery
3d puff embroidery digitizing is an effect where the design in your embroidery comes out raised in three dimensions, making it prominent. This procedure is achieved by attaching a special foam underneath the stitching to develop a puffy, three-dimensional appearance. To perfect this procedure, here are some tips:
Choosing the Right Foam: The nature of the foam will be affected by the final look for your 3D effect; therefore, make sure the chosen type will work with your fabric and embroidery machine for best possible results.
Adjust Digitization Settings: When you go for 3D puff digitization, you will have to make certain adjustments. The increase in stitch density around the area where the foam is inserted ensures that neat puffed-up effects are achieved. Set the underlay stitches proper so that the foam can be supported and held in its place.
Testing and Refining: Always do test stitches on a sample fabric to check the 3D effect before you go into the actual garment. You can make any necessary changes to achieve the right kind of look.
Conclusion
Logo digitization for embroidery is an art as much as a science. Learn essential digitization, efficient techniques, and other advanced methods like 3D puff embroidery digitization to enhance your embroidery projects. Remember, practice goes hand-in-hand with patience to refine your skills and reach perfection. Be it a personalized apparel, a promotional item, or an intricate design, the quality of your digitized logo speaks volumes about your craft and dedication towards it. Learn and enjoy the process, and your embroidery designs will be perfected to professional precision and flair.